Advanced Arduino
Arduino Mega 2560 - More Pins, More Memory, More Power
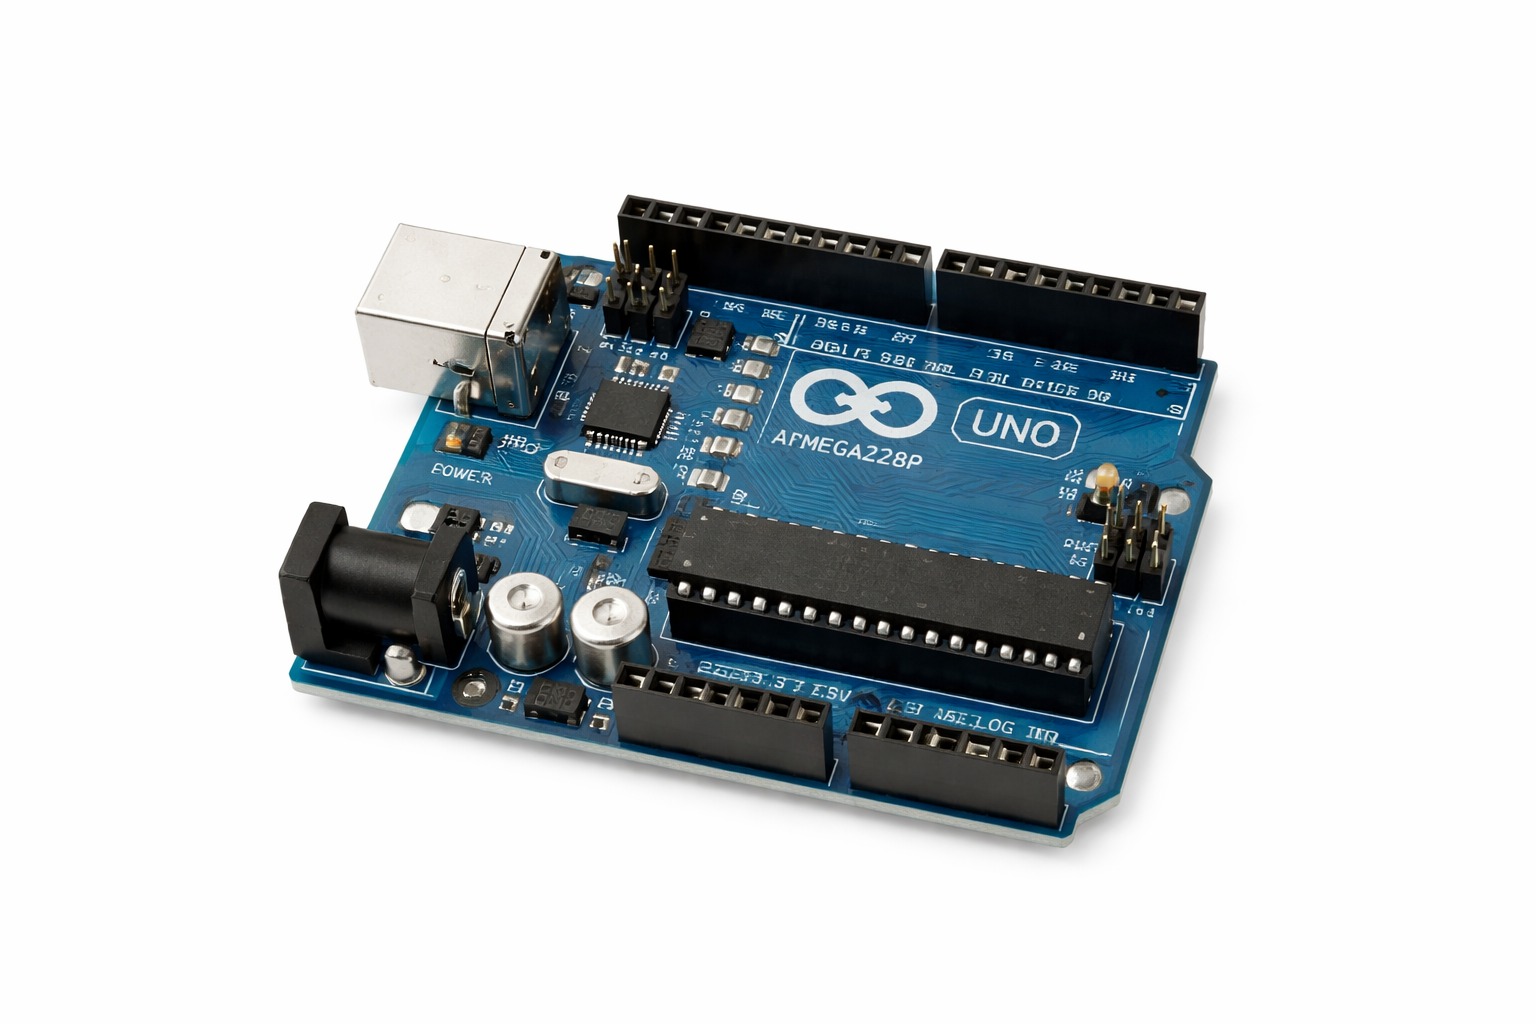
Arduino Mega 2560 solves common Uno limits by providing significantly more pins, memory, and serial interfaces for complex systems.
Full Article
Every maker eventually hits a wall with the Arduino Uno. You are building something exciting - a robot with multiple sensors, a CNC machine, a complex control panel - and you run out of pins. Or you run out of memory. Or you need three serial ports talking to three different modules at once and the Uno only has one. You start stacking SPI expanders, adding multiplexers, bit-banging serial communication in software. It works, kind of. But there is a better way: the Arduino Mega 2560. The Mega does not try to be faster or smarter than the Uno - it simply gives you more of everything that the Uno made you wish for. More pins. More memory. More serial ports. More room to grow. The ATmega2560 - Scaled Up AVR The Mega 2560 uses the ATmega2560 microcontroller - the big brother of the Uno's ATmega328P. Same 8-bit AVR architecture, same 16 MHz clock speed, complete code compatibility. But the numbers scale dramatically. Flash memory is 256 KB - eight times the Uno's 32 KB. SRAM is 8 KB - four times as much working memory. EEPROM grows to 4 KB. The number of digital I/O pins jumps from 14 to 54. Analog inputs go from 6 to 16. PWM-capable pins increase from 6 to 15. These are not marginal improvements - they are transformative for complex projects. A Marlin firmware 3D printer, for example, needs to track stepper positions across 4-5 axes, manage two temperature sensors with PID control, parse G-code from an SD card, render a full LCD menu, and monitor multiple endstop switches - all simultaneously. The Uno does not have the memory or pin count to do this. The Mega 2560 handles it without breaking a sweat, which is exactly why virtually every open-source 3D printer design in history has used this board. Four Hardware Serial Ports - The Underrated Superpower If you asked experienced makers what single feature they appreciate most on the Mega, most would say the four hardware UART serial ports. On the Uno, there is one hardware serial port - shared between USB communication and external devices. In practice, this means you can either use the serial monitor for debugging OR communicate with an external serial device, but not both simultaneously without headaches. The Mega gives you Serial (pins 0/1 - USB), Serial1 (pins 18/19), Serial2 (pins 16/17), and Serial3 (pins 14/15). All four operate in parallel, independently, simultaneously. This means you can be printing debug messages to your computer, talking to a GPS module at 9600 baud, sending commands to a 4G modem, and receiving data from a second microcontroller - all at the same time with zero software overhead. For any project involving multiple communicating modules, this capability alone justifies choosing the Mega. The 3D Printer Connection - RAMPS and Marlin No discussion of the Arduino Mega is complete without the RAMPS + Marlin combination. RAMPS (RepRap Arduino Mega Pololu Shield) is a purpose-built shield that plugs directly onto the Mega's extended pin headers and provides everything needed to run a 3D printer: five stepper motor driver slots (X, Y, Z, and two extruders), high-current MOSFETs for the heated bed and hotend, thermistor inputs, endstop connectors, fan outputs, an LCD connector, and an SD card slot. Marlin firmware - now over 200,000 lines of C++ code - runs on top of this combination and handles motion planning, temperature PID loops, G-code parsing, LCD menus, and safety shutoffs all within the constraints of an 8-bit microcontroller. The fact that this works reliably is a testament to both the Mega's expanded resources and the extraordinary engineering of the Marlin development team. If you have ever owned an entry-level 3D printer - an Ender 3, an Anet A8, a CR-10 - there is a very good chance it was running exactly this setup from the factory. Memory Management on the Mega Even with 8 KB of SRAM, advanced projects can run tight. Experienced Mega developers use a few key techniques to maximize memory. The F() macro stores string literals in Flash instead of SRAM - Serial.println(F("Starting up...")) uses zero SRAM for that string, compared to potentially 15 bytes if stored normally. PROGMEM keyword places large data arrays (sine tables, bitmap fonts, color palettes) in Flash, accessed via special functions. Avoiding dynamic memory allocation (malloc, String objects) prevents heap fragmentation - a common source of mysterious crashes on small microcontrollers. Used correctly, these techniques let the Mega run surprisingly complex firmware within its 8 KB - Marlin itself is proof of what careful C++ programming can achieve on this platform. Shield Compatibility and Pin Mapping Notes Most Arduino Uno-format shields plug directly into the Mega's first two rows of pin headers and work correctly, because the Mega preserves the Uno's pin numbering at the same physical positions. The Mega's additional pins are exposed on extra header rows that extend beyond the Uno shield footprint. One caveat: shields relying on hardware SPI need attention. The Mega's hardware SPI peripheral is on pins 50, 51, and 52 - not on pins 11, 12, and 13 as on the Uno. Shields that use the Uno SPI pins 11-13 for hardware SPI will still have those pins accessible on the Mega but connected to regular I/O rather than the SPI hardware. Most modern libraries handle this automatically, but older shields may require configuration. When Should You Choose the Mega? The decision is easy once you know the signs. Choose the Mega when you need more than 14 digital I/O pins, when your sketch is approaching the Uno's 32 KB Flash limit, when 2 KB of SRAM keeps causing your program to crash mysteriously, when you need two or more independent serial ports for simultaneous module communication, or when you are building a machine - 3D printer, CNC router, laser cutter, large robot - where the community has already established the Mega as the standard platform. The Mega is not faster than the Uno. It runs at the same 16 MHz clock with the same 8-bit AVR instruction set. Its advantage is breadth, not speed. More pins, more memory, more communication interfaces. For the right project, that breadth is exactly what makes the difference between something that works and something that does not.
Key takeaway: If your build is IO-heavy or communication-heavy, Mega is a practical and proven upgrade path.