Embedded Prototyping
Arduino Nano - The Uno's Smaller, Smarter Sibling
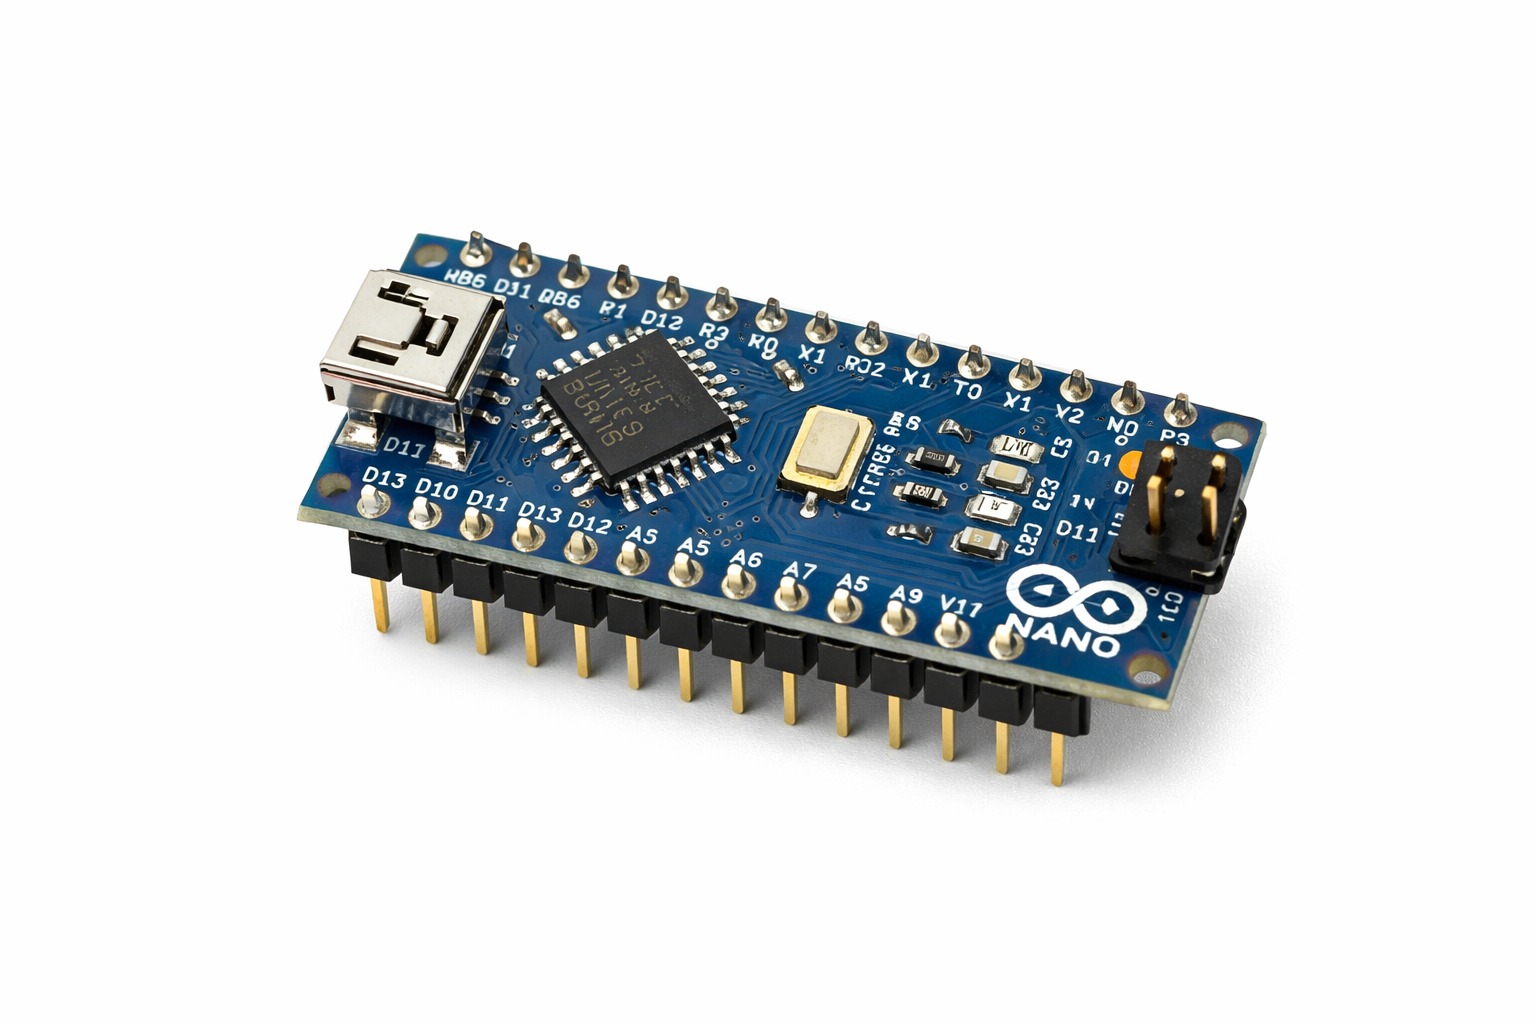
Nano delivers Uno-level compatibility in a compact footprint that fits directly on breadboards, making it ideal for tighter and cleaner builds.
Full Article
If the Arduino Uno is the classroom workhorse of the electronics world, the Arduino Nano is the field operative. Same brain, same capabilities, same software ecosystem - but packaged into a board so small it fits across the width of your thumb. At just 45 mm x 18 mm, the Nano can go places the Uno simply cannot: inside tight enclosures, embedded in clothing, soldered onto custom PCBs, mounted inside a drone, or tucked into the corner of a finished project where aesthetics matter. For anyone who has ever finished a prototype on an Uno and then thought now how do I make this smaller - the Arduino Nano is your answer. The Same Brain in Half the Body The classic Arduino Nano uses the exact same ATmega328P microcontroller as the Arduino Uno, running at 16 MHz with 2 KB of SRAM and 32 KB of Flash. This means code written for the Uno runs on the Nano without modification. Every library, every sketch, every tutorial that works on the Uno works on the Nano. The switch between the two is purely a matter of uploading to a different board target in the Arduino IDE - nothing else changes. What the Nano trades for its smaller size: no barrel jack power input, a smaller voltage regulator (lower current capacity), and a Mini-USB connector instead of USB-B. What it gains: it fits directly into a standard breadboard, straddling the center gap with pins accessible on both sides. This breadboard-native design is something the Uno can never offer, and it makes the Nano dramatically more practical for prototyping. The Breadboard Advantage Explained This might seem like a small thing, but the Nano's breadboard compatibility genuinely transforms how you prototype. When you use an Uno on a breadboard, you need jumper wires to reach every component - the board sits nearby and wires run across the workspace. It works, but it gets messy fast, wires fall out, and the setup is fragile. With a Nano dropped directly into the breadboard, the board is part of the circuit. Components plug directly into rows adjacent to the Nano's pins. The result is a compact, stable, tidy layout that is less likely to have loose connections and much easier to photograph, share, and reproduce. For classroom settings, project sharing, and building something that looks presentable - the Nano wins every time. Clones, the CH340G, and Why They're Fine Here is the thing that every Nano tutorial forgets to mention upfront: virtually every affordable Nano you will buy online ($2-5 on AliExpress or Amazon) is a clone. Instead of the official ATmega16U2 USB-to-serial chip used on the official Arduino Nano, clones use the CH340G - a Chinese USB-to-serial IC. Functionally identical for programming purposes, but requiring a driver installation before your computer recognizes it. On Windows: download and install the CH341SER driver. Takes two minutes. After that, the Nano appears as a COM port like any other device. On modern macOS, the driver is often built in. On Linux, it works out of the box. Once the driver is installed, a $3 clone Nano performs identically to a $22 official board. The ATmega328P inside is genuine Microchip silicon regardless of who assembled the PCB. For hobbyists, students, and bulk project builds - clones are the practical choice. Extra Analog Pins You Didn't Know You Had One small but useful advantage the Nano has over the Uno: it exposes 8 analog input pins (A0 through A7) compared to the Uno's 6. Pins A6 and A7 are analog-input only - they cannot function as digital I/O - but for sensor-heavy projects where you are reading multiple potentiometers, light sensors, current sensors, or strain gauges, two extra ADC channels can be exactly what you need without adding a separate ADC chip. Powering the Nano in Real Projects Without a barrel jack, how do you power a standalone Nano project? Several good options exist. A USB power bank connected via Mini-USB cable is the simplest solution for portable projects - most banks provide a stable 5V and a typical 10,000 mAh bank will run a Nano for weeks of continuous operation. For embedded projects, a TP4056 lithium battery charger module combined with a single 18650 cell and a 5V boost converter creates a compact rechargeable power system. Three AA batteries in series (4.5V) can power a Nano directly through the 5V pin, bypassing the onboard regulator - simple, cheap, and adequate for most low-power applications. The Modern Nano Every - A Meaningful Upgrade In 2019 Arduino released the Nano Every - a pin-compatible replacement that upgrades the processor to the ATmega4809. This gives you 48 KB of Flash (50% more), 6 KB of SRAM (three times more), and a 20 MHz clock, while maintaining the exact same physical form factor and pin layout. For projects where the original Nano's 2 KB RAM becomes a limitation - anything involving heavy string manipulation, complex data structures, or multiple large libraries - the Nano Every is a drop-in upgrade. Same breadboard fit, same board width, more headroom. Where the Nano Truly Shines Wearable electronics are perhaps the Nano's most natural home. At 7 grams with a low profile, it sews into costumes, clips onto backpacks, and hides inside prop weapons for stage productions. Pair it with NeoPixel LED strips and a LiPo battery and you have an animated wearable system that looks completely professional from the outside. Miniature robotics is another strong suit. The popular two-wheeled Arduino robot car platform is built around the Nano precisely because weight and size matter for robot maneuverability. Drone auxiliary systems - landing lights, GPS data relays, sensor payloads - also commonly use Nanos because every gram affects flight time. And for anyone moving a project from prototype to permanent installation - transitioning from a Uno on a breadboard to a Nano soldered onto a perfboard is a rite of passage in the maker world. The Nano's small size means the finished board can be tucked into an enclosure that looks clean and intentional rather than like a science experiment.
Key takeaway: When your Uno project works but needs to shrink, Nano is usually the next best step.